This week my chickens got a special treat: fermented layer feed. I have never fermented anything before and wanted to give it a try. Fermenting increases the nutritional value of the feed and adds beneficial proteins. It is easier to digest and supports digestive health with probiotics and helps eliminate bad microorganisms. Fermenting food helps the hens lay bigger, better quality eggs and it increases the yolk size. It saves money because when the feed ferments, it doubles in quantity, and it fill the birds up faster then dry feed. Chickens are less likely to contract diseases when they eat fermented feed. Another plus is (especially for those of us who clean up after them) that fermented feed makes the bird’s stools more solid and it actually makes them poop less as more of the feed can be used for nutritional purposes!

Here’s how I did it:
I gathered a glass jar, cheesecloth, rubber band, empty yogurt cup, and a plastic spoon. I started by pouring 1 cup of layer feed into the glass jar and covering it with water, making sure that the water was at least an 1/2 inch above the feed. I stirred it and then I set it in a dark place (my pantry) and wrote myself a sticky note so I wouldn’t forget about it.
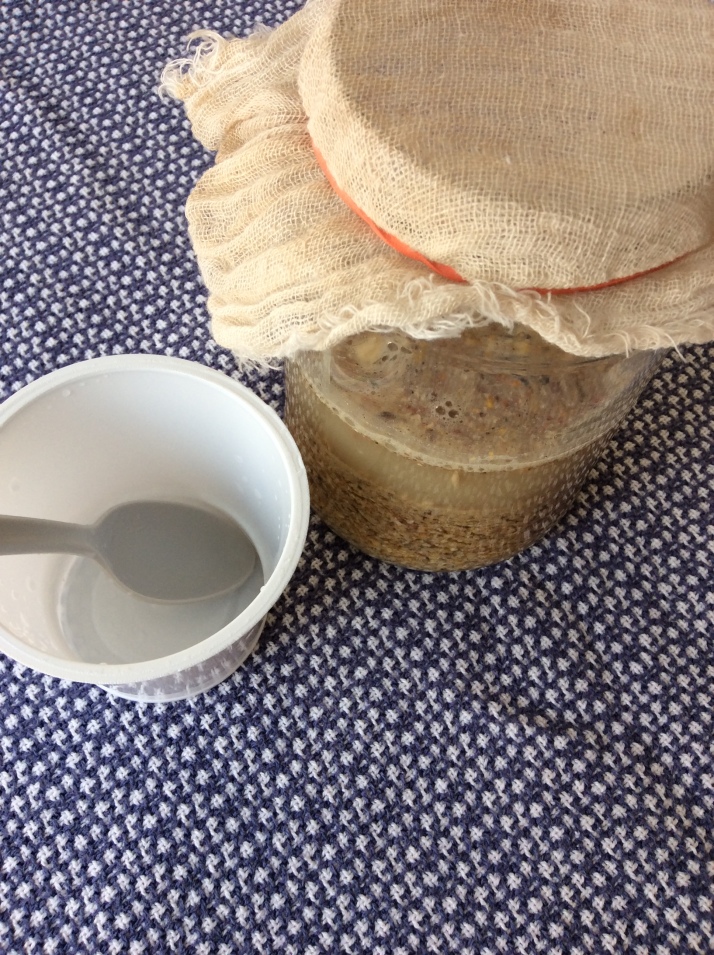
I stirred it three times a day for three days with my plastic spoon (I used a plastic spoon because metal does bad things to the yeast that grows while the feed ferments). I had to add more water on the first day as the grain soaked up lots of the original water. The feed always needs to be covered in water because it could mold if it is exposed to oxygen when it is moist. The fermentation process is started by wild, natural yeast in the air.
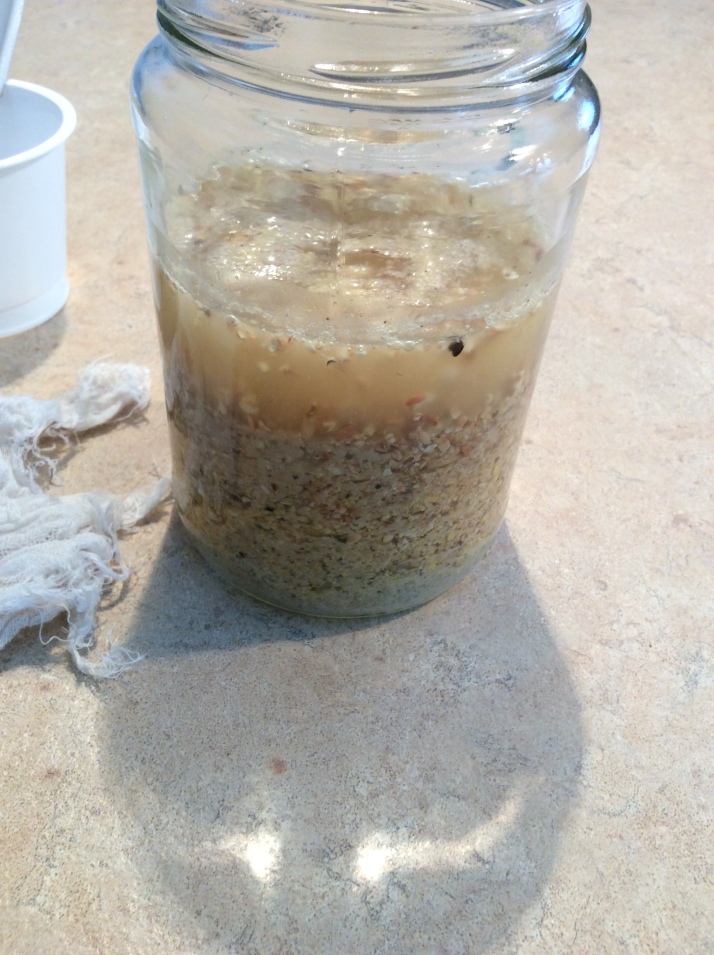
This what it looked like on the second day. The bubbles on top are a great sign of fermentation. It stinks too! A sour, tangy smell, yuck! If it smelled rancid I would have had to throw it away.
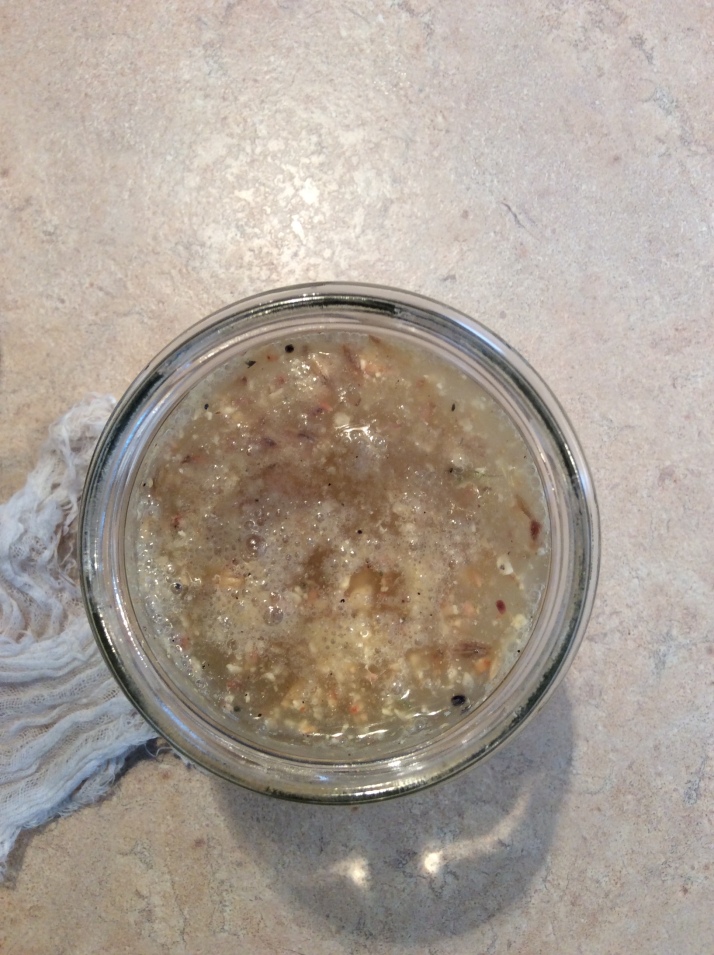
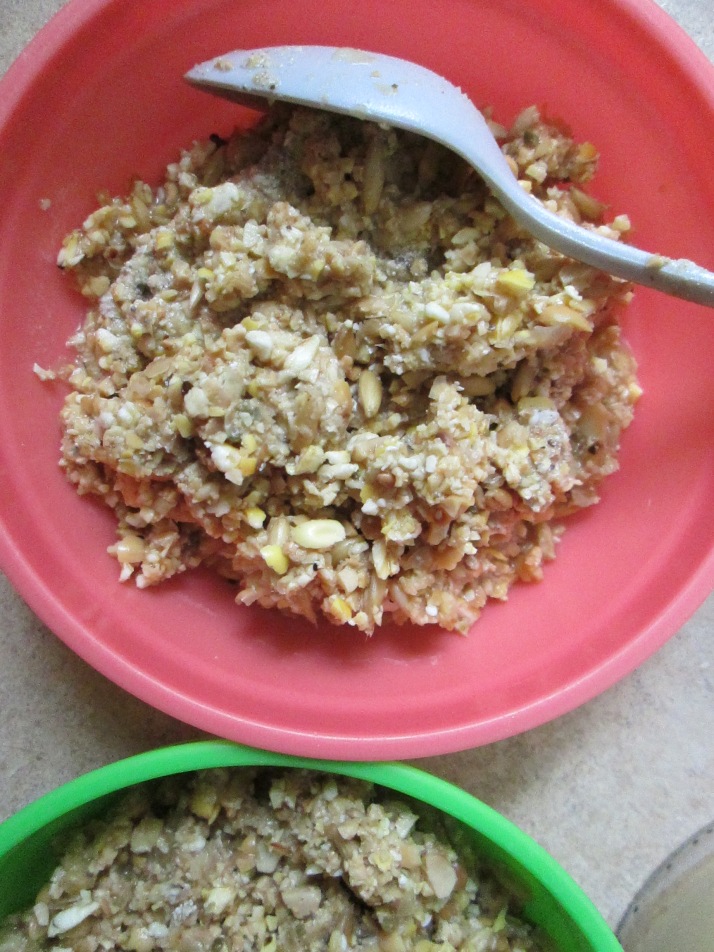
This is the top view. The feed could ferment for up to 5 days, but I decided that it looked bubbly enough to be served on day three.
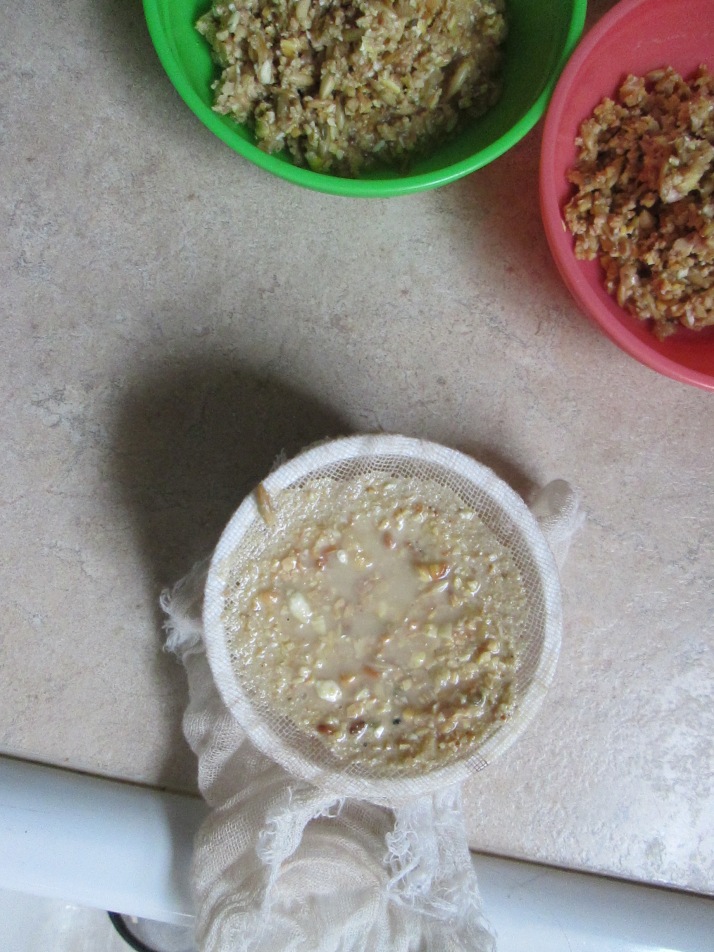
On the third day I strained the feed (saving the water that was drained) and scooped the feed into two dishes. The drained water can be used to start the next batch which will ferment faster now that the water already has some active yeasts in it.
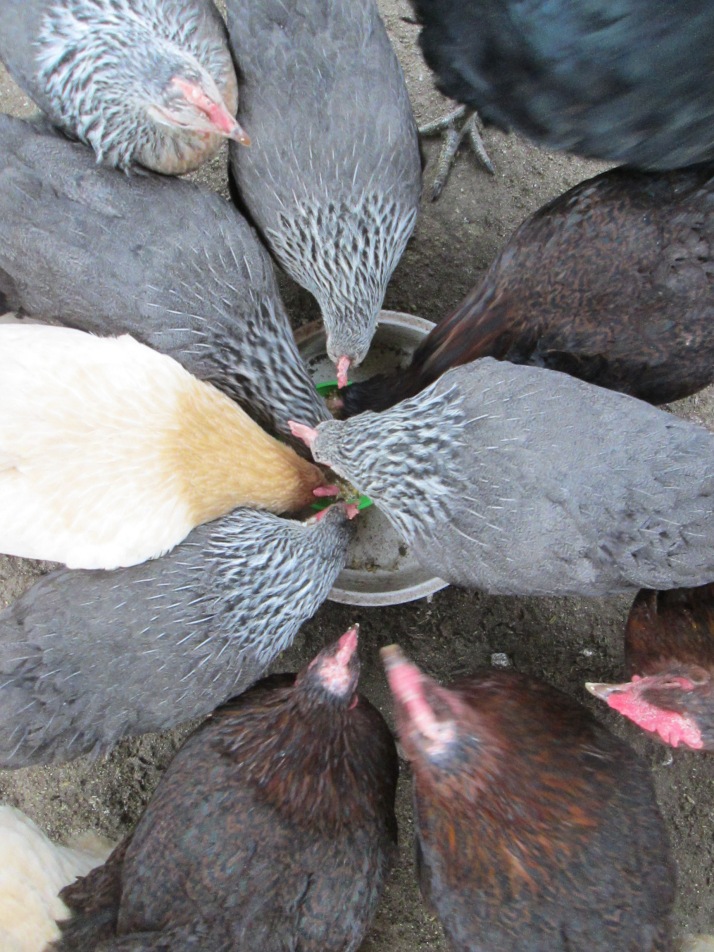
The chickens loved it! It was gone within minutes!
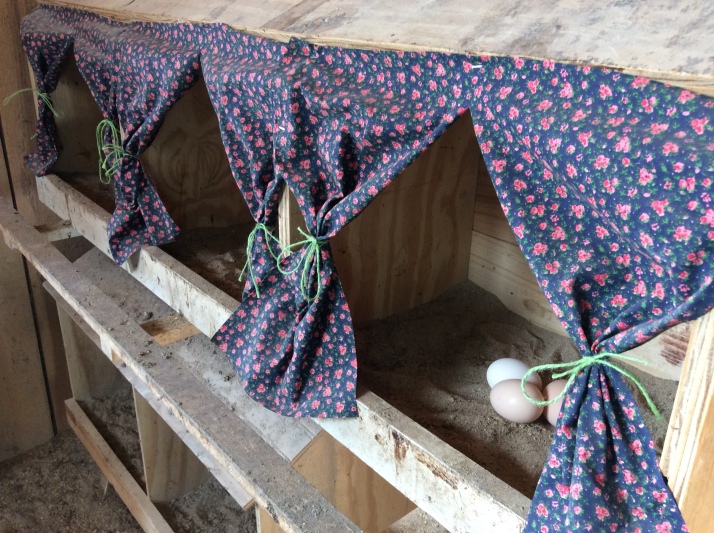
Another new addition to the coop are some homemade nesting box curtains! At first I only put one up to see if they would like it. Sometimes chickens don’t like change, so I was wondering if they would lay eggs in the curtained nesting box or be scared of it. I came back out latter on that afternoon and there were two eggs in the curtained box! They must have liked it! I put up the other two and have been getting lots of eggs in all the boxes.
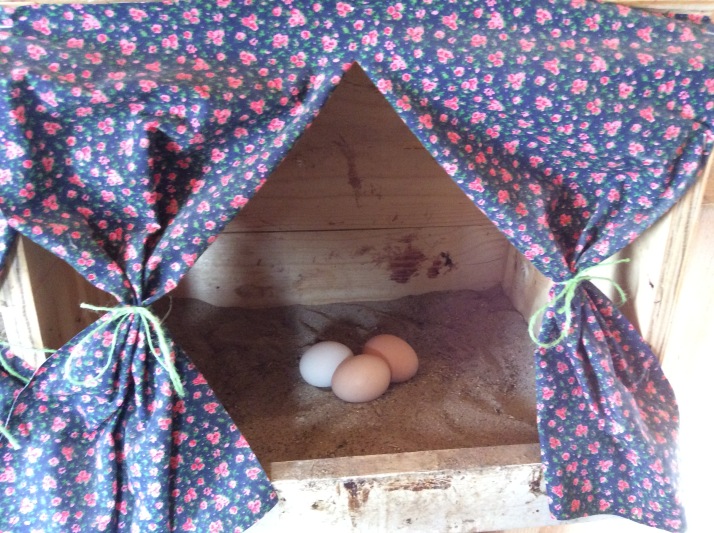
My nesting box curtains are 16″x 14″ with a cut at 8″ to make the opening. I tied back the edges with twine and stapled them up to my nesting boxes. Nesting box curtains are said to help prevent egg eating and encourage more laying. They give the hen a dark, private place to lay her egg. My hens sure do like them!
Have a great week!
by Alexa

Hey ‘lex, great, informational article! Is it possible to buy eggs from you?
LikeLike